Week
Ending 10/28/11
 This week we installed the exterior trim around the
windows, door, corners, and belly bands. It was great work, great fun, and gave
the students a little practice at refining their skills. One comment from a
student was “you would never imagine that building a little house could be so
complicated”. Well you wouldn’t think so but this is a new approach to
building, and turning out to be quite a process. Most every step needs to be
scrutinized to make sure it is achieving the goals you have set out.
This week we installed the exterior trim around the
windows, door, corners, and belly bands. It was great work, great fun, and gave
the students a little practice at refining their skills. One comment from a
student was “you would never imagine that building a little house could be so
complicated”. Well you wouldn’t think so but this is a new approach to
building, and turning out to be quite a process. Most every step needs to be
scrutinized to make sure it is achieving the goals you have set out. The latest step that was revisited was the rain
screen. I realized we may have a problem with bugs making their way through our
rain screen product so we took off the bottom baton, covered it with screen
fabric and reinstalled it on the house. Now we will have continuous ventilation
behind the siding that is free from bugs and worries.
The latest step that was revisited was the rain
screen. I realized we may have a problem with bugs making their way through our
rain screen product so we took off the bottom baton, covered it with screen
fabric and reinstalled it on the house. Now we will have continuous ventilation
behind the siding that is free from bugs and worries.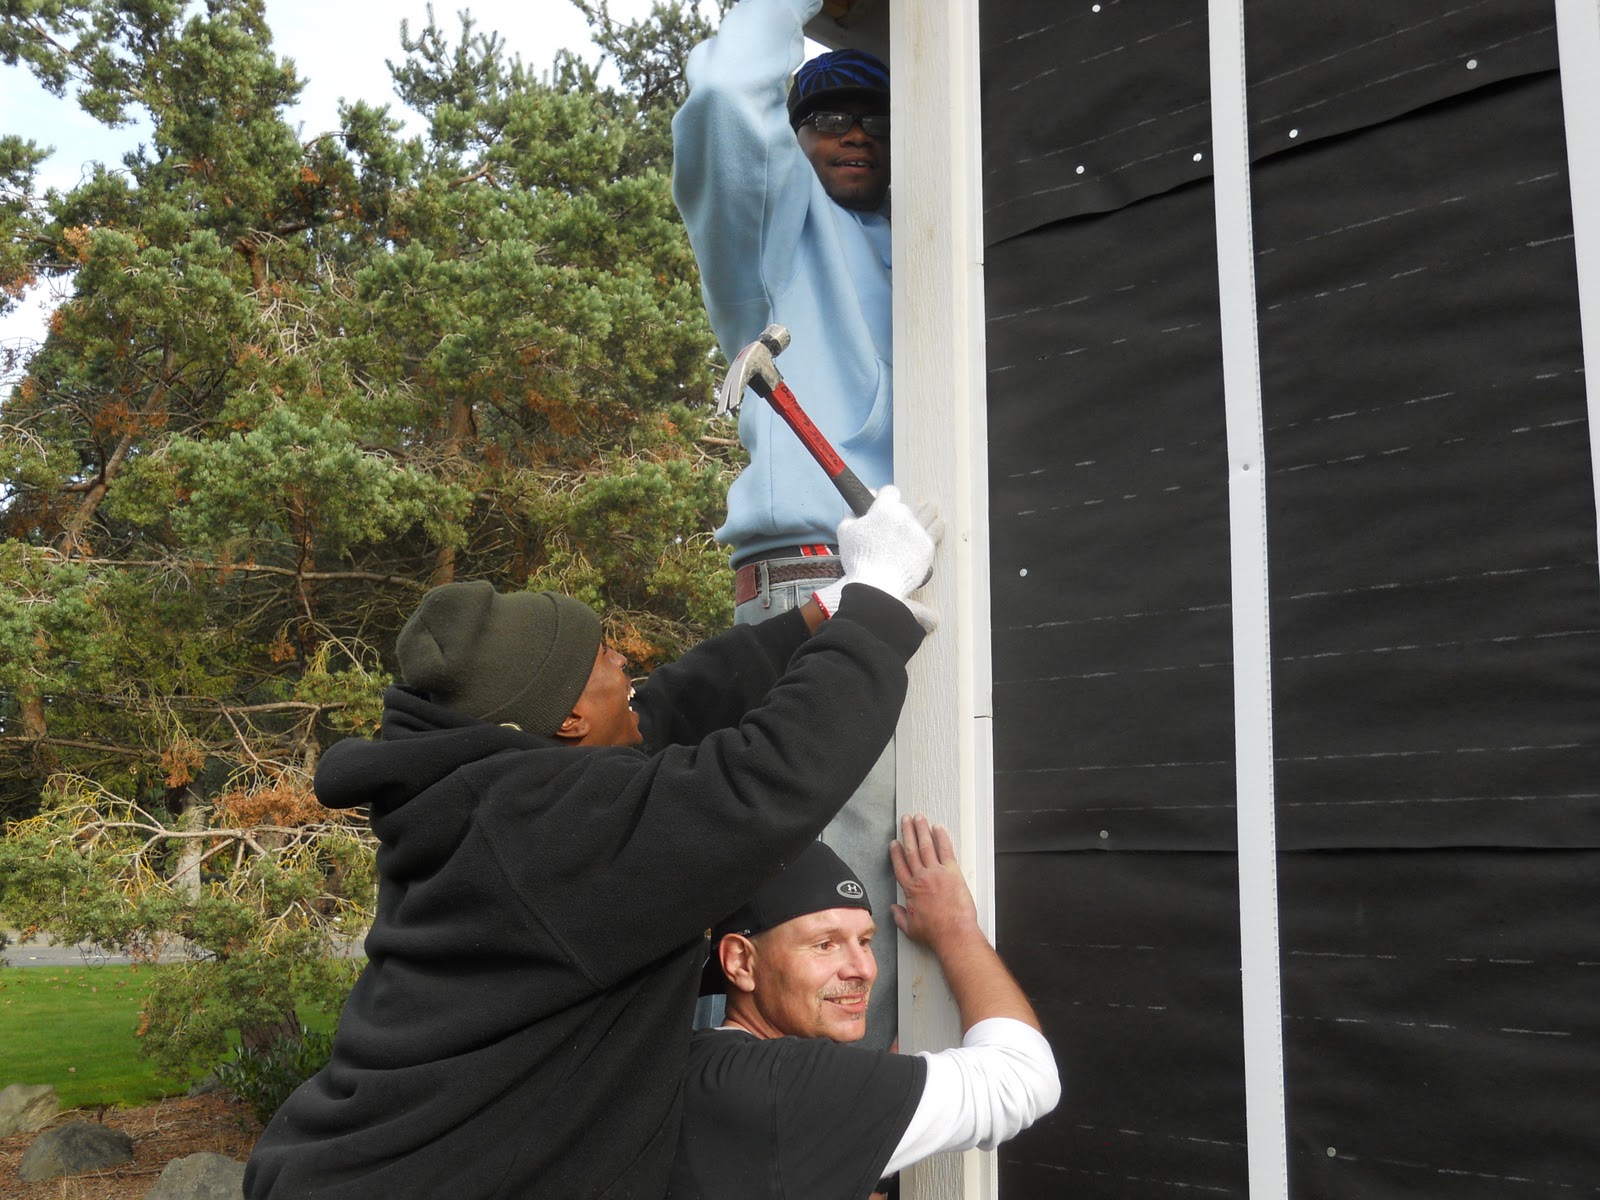 The trim around the windows and doors was installed
without hitch or glitch. The wrap around the windows was fastened with
galvanized finish nails and has a strip of the rain screen material around it
for nailing siding to. The only noteworthy item on the belly band was the use
of 4” galvanized nails because of the thickness of the built-up materials. It
turned out to be a good choice because everything is well secured and ready for
siding.
The trim around the windows and doors was installed
without hitch or glitch. The wrap around the windows was fastened with
galvanized finish nails and has a strip of the rain screen material around it
for nailing siding to. The only noteworthy item on the belly band was the use
of 4” galvanized nails because of the thickness of the built-up materials. It
turned out to be a good choice because everything is well secured and ready for
siding.
Next week we will be installing exterior siding,
stay tuned.
Good bye, and good building,
Dan Smith


