Friday, October 21, 2011

Week 3, Fall 2011

This week the class completed the installation of the rigid insulation on the exterior of the house. We now have a house that has a fully enclosed envelope and is free from thermal bridging. The insulation will block the summer heat from entering the building and keep the winter heat from leaving the building. 

As you can see from the pictures we put a piece of flashing between the foundation and wall insulation to direct any water accumulation out and away from the building. Other points of interest in this system are the blocks between the gable lookouts, the trim piece under the truss heels, and the build-up behind the windows and doors. The blocks between the lookouts were put in to make the installation easier and use as a trim piece after the siding is attached. The trim at the heels was installed to cover the top edge of the insulation and also be used as a finish piece with the siding. The build-up for the windows and doors needed to be put in to compensate for the extra space taken up by the insulation and rain screen.
I want to take a moment and say what a pleasure it is to work with the students of the Sustainable Building Science program. Without them, their enthusiasm, and their great ideas and input the progress on this project would not be possible. They are a great team and I wanted to make sure they were recognized for that.

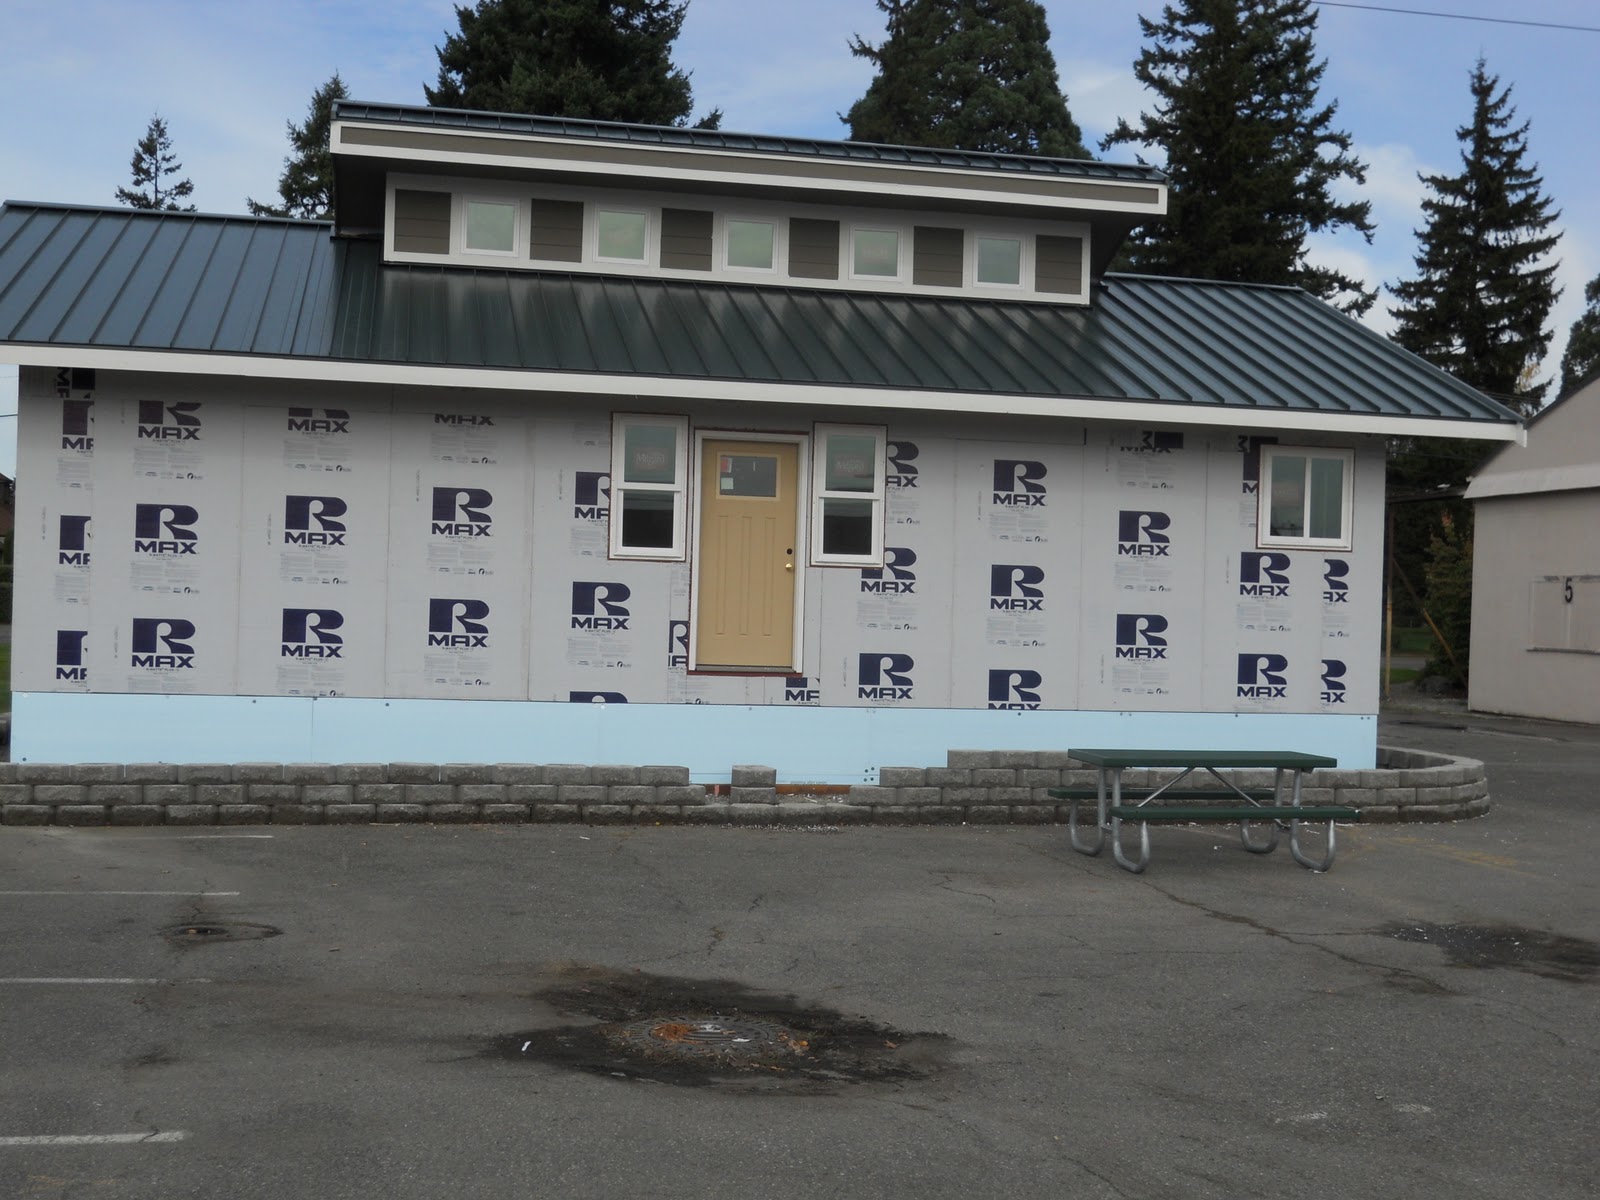
Next week we will be installing the rain screen material and exterior trim, stay tuned.

Good bye, and good building,

Dan Smith

Wednesday, October 19, 2011

Week 2, Fall 2011

This week the class has concentrated on installing the insulation and air barrier in the crawl space of the Zero Energy House. This is quite a significant segment of the assembly because it will block soil gases, keep moisture out of the crawl space, and complete the thermal boundary at the base of the structure. We have no venting in our crawl space which makes it a conditioned air space. This will allow us to install the ducting for the forced air furnace and not insulate it. Since the ducts are already in conditioned air space there is no penalty for any leaks.

When looking at the pictures of the week in progress the assembly process can be seen. First we positioned two inch thick by two foot wide by eight foot long panels of rigid insulation on the crushed rock floor of the crawl space. The gaps between the rigid insulation were then filled with expanding foam to help complete the insulation layer. The insulation was then covered a with 6 mil polyurethane vapor barrier that was fastened to the footing with furring strips around the perimeter of the inside footing.

This was a very productive week and informative in that we demonstrated that there is a definite need for vapor barriers in the crawl space. Before work was started the moisture level in the crawler was very predominant. The moisture level and soil gases were very sensible. The moisture levels were measured at 25% to 35% in the material and an ambient relative humidity at 75%. After installation of insulation and vapor barrier the odor of ground gases was gone and the humidity level was sensibly less. We will continue to test the moisture levels of the air and materials and post them in the coming weeks.

Good bye, and good building,

Dan Smith

Week 1, Fall 2011

This is the first week back from summer break and I am pleased to say that we have a full class of very enthusiastic students. For lab this week we started finishing off our super insulated envelope enclosure on the Zero Energy House.

What is seen on the outside of the building is an air sealing product called WET-FLASH that has been donated by our friends at Building Envelope Innovations. This is a role-on product that seals the walls off and limits air travel through the envelope while still allowing the assembly to dry and not hold moisture.

The windows shown were purchased from Milgard Manufacturing and are triple glazed and have a U-factor of .25. The doors are also from Milgard and are fiberglass with an insulated core and have a U-factor of .29.

The insulation installed on the foundation wall is two inch rigid and is fastened to the stem wall with deck screws and fender washers. The walls are covered with two layers of ¾” thick R MAX rigid insulation. The two layers are installed so the seams of the insulation are overlapped both horizontally and vertically.

This is a wonderful project and students are very excited to be a part of it. The web site will be updated on a weekly basis to keep people informed about progress.